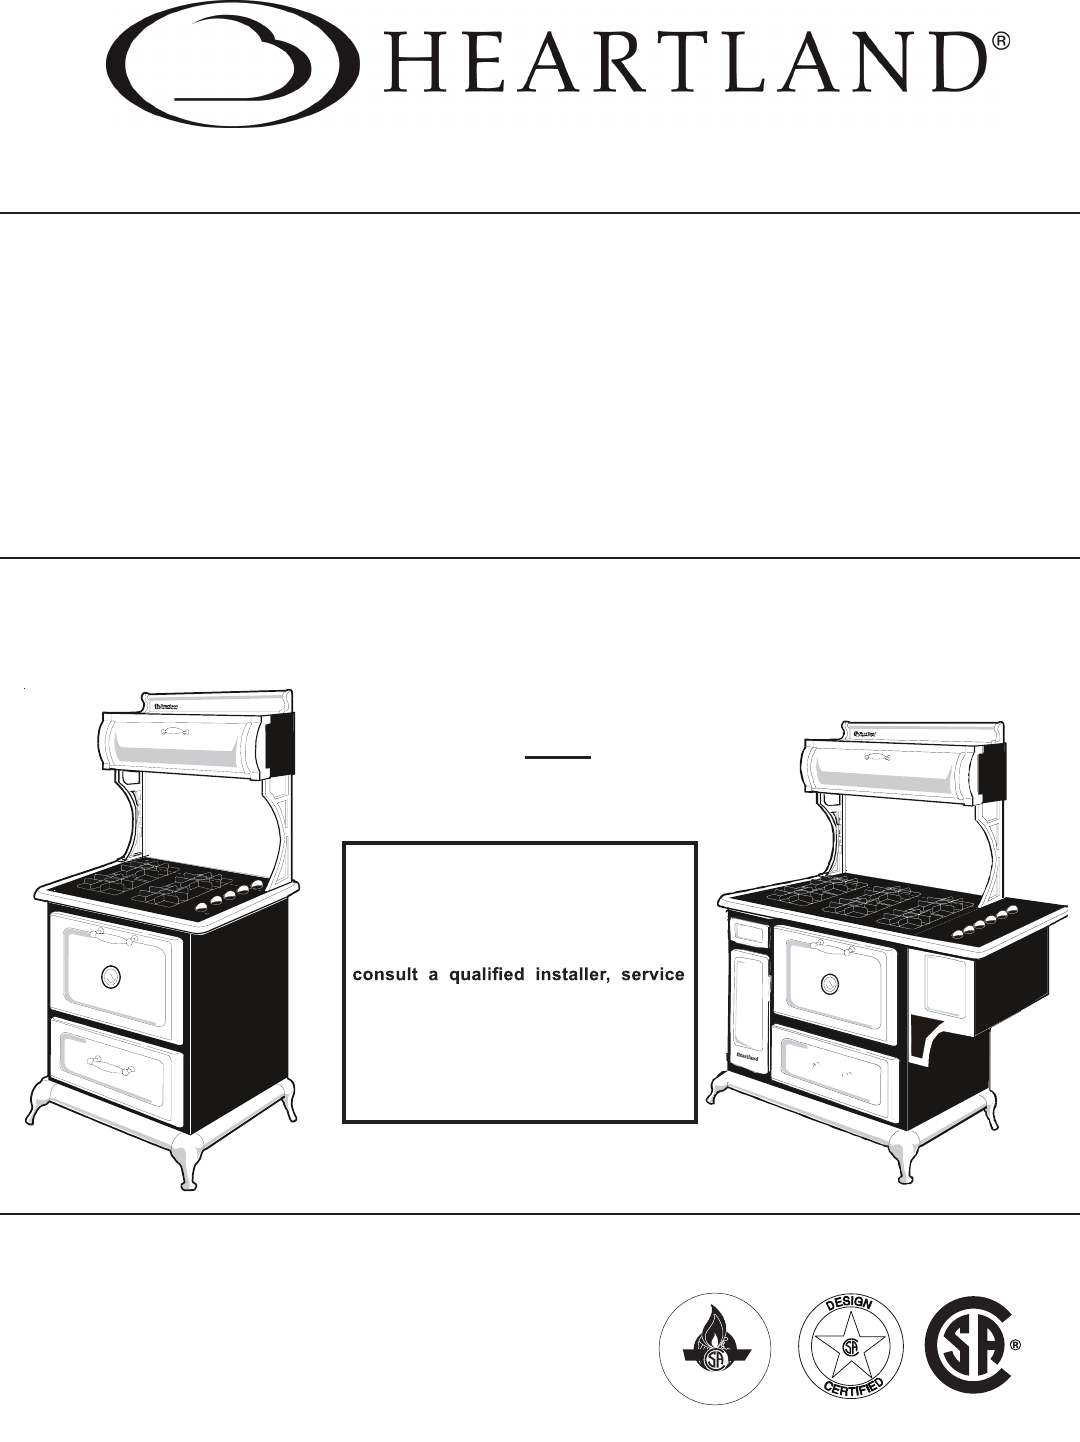
Heartland Range 4210 User Manual
Browse online or download User Manual for Cookers Heartland Range 4210. Heartland Range 4210 User's Manual
- Page / 29
- Table of contents
- BOOKMARKS
Summary of Contents
Toll Free Phone 1-800-223-3900 Fax 1-616-754-9690Installation and Operating Instructions For Models:5210 48" Gas Top / Electric Convectio
6Exhaust Hood Your range is equipped with a variable speed range hood that may be either vented directly to the outside, or in soapy water. Extras are
714.0"355 mm28”711 mm29 1/2”787 mmRange Hood Outlet3 1/4"x10" 83mmx 254 mm66 1/4"1682 mm62 3/8"1585
8Important Safety Instructions1. PROPER INSTALLATION—BE SURE YOUR APPLIANCE IS PROPERLY INSTALLED AND GROUNDED BY A QUALIFIED TECHNICIAN. Have the in
9Self Clean Safety InstructionsRead the instructions below and the appropriate timer instructions before attempting to operate. Do not touch heating e
10Cooking ControlsThe cooking controls are located on the right hand side of the for ease and accuracy in cooking and baking.Sealed Burner FeaturesA)
11Clock Control Panel The timer and control panel is concealed behind the closet door for standard and self clean models. Note: Warming Oven is not t
12Control Panel Layoutgraphic on the right side of the knob.The operation of the controls are described in the following pages.Model 4210 Control
13OPERATION Top Burner Control6 (HI) - Quick start for cooking, brings water to boil.5 (MED HI) - Fast fry, pan broil, maintain fast boil on large amo
14Power Failure OperationIf electrical power is interrupted in your area, you can still cook meals on the top burners of your Heartland gas /electric
15Warming Drawer Control and Operation drawer behind the drawer door.ranges from 130°F to 220°F. (54°C to 104°C).When the control is in use the ind
!• ALL RANGES CAN TIP• INJURY TO PERSONS COULD RESULT• SEE INSTALLATION INSTRUCTIONSWARNING—FOR YOUR SAFETY—DO NOT STORE OR USE GASOLINE OR OTHE
16Bake - Broil ControlBaking To bake, push down and turn the oven control counter clockwise to any desired temperature. When baking is selected, the i
17Oven OperationBefore You start:1. Remove the oven racks and oven rack supports and clean with soap and water. (see interior oven rack and rack su
18How to Select Cooking Methods Standard Baking - To bake, turn the oven control to any desired temperature between 150°F to 500°F (65°C AND 290°C). W
19Adjust setting downDuration of bake or S/C time"Auto" indicates auto activate timer in operationBell symbol indicates minute minder in ope
202. To cancel minute minder operation: a) Press ““. b) Press ““ setting button and set to zero. c) Then press “ “ cancel button and the display will
21General Cooking GuidelinesStandard & Convection Cooking Convection Air PatternDiagram shows how heat is circulated from the convection fan,
22Cooking GuideGeneral Cooking Tips & Preferences·Place oven rack in correct position before preheating oven. Rack position is 2 or 3 for standard
23Cooking GuideBroiling Guide:Baking Guide:Caution: Accessible parts may become hot when the broiler is in use. Children should be kept away. General
24Care and CleaningPorcelain and Painted EnamelKeeping it cleanThe porcelain and painted enamel is very serviceable and simple to clean, but because i
25A-oven front frameB-outside oven door gasket areaDo not clean gasket3. Remove all utensils and food from cooktop. 4. Wipe up heavy soil on the o
Gas Top/Electric Convection Self Clean Models 4210/5210 CONSUMER WARRANTYENTIRE PRODUCT – LIMITED ONE YEAR
TABLE OF CONTENTS Description ... Page1. Assembly and Installation ...
1Note: shipping damage, inform your dealer immediately! Caution when unpacking: Lift the range by the bottom skirt, do not lift by nickel trim.Unpacki
2STOVE TOP Gasket - Peel off backing and stick on.BracketSheet metaI screw (black)Steel Washer Machine screw(Nickel Plated)-Remember when wo
3Sheet metal screw3 1/2" x 10" Exhaust adaptorIf you are not venting outside, attach the deector to the rear of cabinet with 4, sheet metal
4CONNECTING POWER TO THE CABINETPlug the stove into wall receptacle.Check all electrical functions of the cabinet (fan,light, clock, etc.) and check a
5Installation ClearancesIf the range must stand beside a refrigerator, it is important for proper air circulation that there be at least 5" of sp
Related products and manuals for Cookers Heartland Range 4210

 (81 pages)
© 2020, manymanuals.com. All rights reserved. | 0.812 s |
 Manymanuals.com
 Manymanuals.de
 Manymanuals.fr
 Manymanuals.it
 Manymanuals.pl
 Manymanuals.cz
 Manymanuals.es
 Manymanuals-pt.com
Comments to this Manuals